Bert from Mary Poppins DIY Costume
- Stephanie Powers
- Oct 19, 2017
- 2 min read
Lets go fly a kite!
This years Halloween, my husband and I decided to be a couple of characters of one of my favorite movies! Marry Poppins! It's going to be a spoonful of fun, In the most delightful way!


Materials:
*StrawHat ( I got mine at Assistant League $2)
*Beige or white blazer (Check every Thrift Store I found mine at Assistance League $10)
*White Pants (Check every Thrift Store, my husband already had some at home)
*white button down shirt (thrift store)
*Blue Bow Tie (Costume Castle $6 any Halloween store should have bow ties)
*White Gloves (Hubby is in the military, he already had them, but thrift stores and halloween stores should have them)
*Blue Socks (99 cent store)
*Scissors
*Glue Gun (A bag of glue sticks!!! you'll be glueing a lot in this project!)
*Ribbon: (2rolls) Orange 5/8in x 8yd, (2rolls) 5/8in x 8yd Yellow,(1roll) red 5/8in x 8yd (2rolls) Red 2in x 4yd


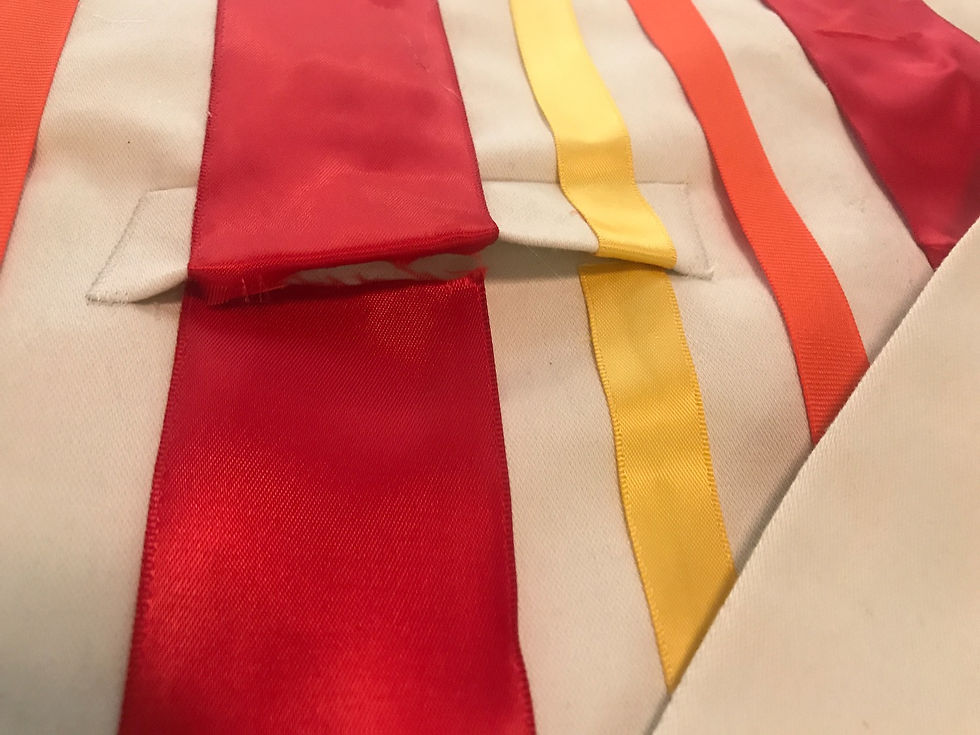
I first Started with the red ribbon, I measured from where I wanted the ribbon to start and end. This part is also a little tricky, make you mark where the buttons insert holes are at, you would be cutting the ribbon so the buttons are able to go through the ribbon also. Always cut a little longer than what I needed, so I was able to fold the ribbon inside the blazer. I thought it looked nicer this way. After that you glue gun the ribbon the rest is pretty easy. The pattern I went with was Red, orange and yellow ( repeat) the original coat is Red, orange, yellow and then orange again. Play around with the colors and see what patter you like better.


*(This is optional)* For the pocket, I did cut the ribbon so you could open the pocket. You don't have to do it, you can just go over it with the ribbon and just glue it on.


The arm was a little difficult to work with, I got a tiny notebook that fit into the sleeve to make it flat and easy to glue the ribbon on.

The back came out a little different from the actual Bert Coat, but I still liked how it turned out. I kept the same pattern I did in the front of the coat: Red, Orange, and Yellow. I didn't have enough space so I made a "Y" Line in the center of the coat with the orange and in the center I put Yellow Ribbon, so it wouldn't have an empty space. The coat looks really great! I love it!!! I would love to wear it too, now that the coat is done, its time to start on the hat.

With the straw hat, I used the 5/8 in x 8yd red roll. The color pattern I used for the hat was: Red, Orange, Yellow and red again. I lined up the ribbon the same way and ended at the same spot each time. I wanted to cover the area where I ended all the ribbons. I cut more ribbon, same pattern to cover the area. I glued the ribbon vertical this time. It doesn't have to be perfect, but I think it looks so much better.
Now its time to fly a Kite, Up to the highest height!


Comments